Search results for: 'bun ph 01 press hall business starter'
Compare Products
You can select up to 6 products to compare.
You have no items to compare.
-
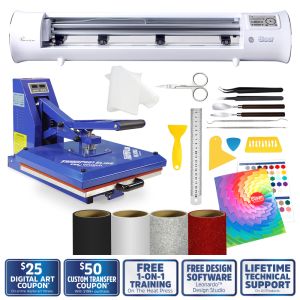 TRANSPRO HEAT PRESS AND ROMEO STARTER PACKAGE Item #: BUN-086As low as $1,199.00 Regular Price $1,296.00
 -
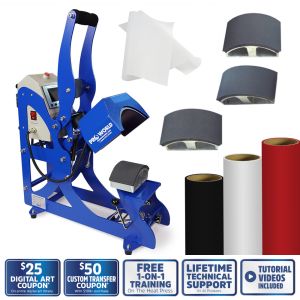
 CUSTOM TRANSFER AND HEAT PRESS BUSINESS PACKAGE Item #: BUN-111As low as $1,269.00 Regular Price $1,499.00
 -
 SUPACOLOR HEADWEAR AND CAP PRESS STARTER PACKAGE Item #: BUN-109As low as $459.00 Regular Price $569.00
 -
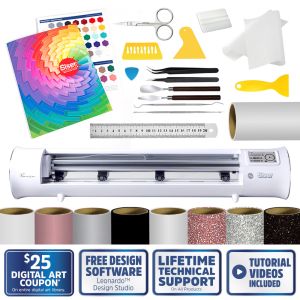
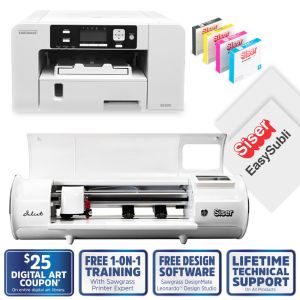
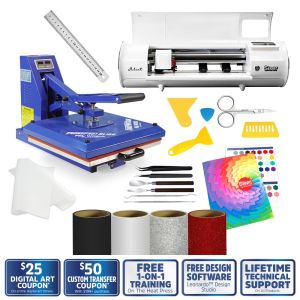 TRANSPRO HEAT PRESS AND JULIET CUTTER STARTER PACKAGE Item #: BUN-068As low as $905.00 Regular Price $1,155.00
 -
-
-
-
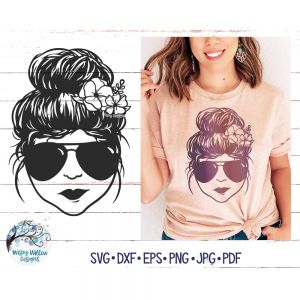 Mom Bun Flowers Cut File Item #: CF101281Format: SVG, PNG, EPS, DXF, PDF, JPGArtist: Wispy Willow Designs$3.49
 -
-
-
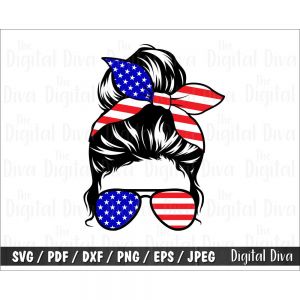
 USA Kid Bun Cut File Item #: CF103149Format: SVG, PNG, EPS, DXF, PDF, JPGArtist: Digital Diva$2.00
 -
 Messy Bun Bandana Cut File Item #: CF101276Format: SVG, PNG, EPS, DXF, PDF, JPGArtist: Wispy Willow Designs$3.49
 -
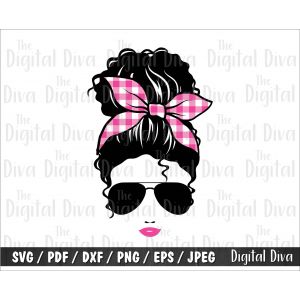 Pink Plaid Curly Messy Bun Cut File Item #: CF103055Format: SVG, PNG, EPS, DXF, PDF, JPGArtist: Digital Diva$2.00
 -
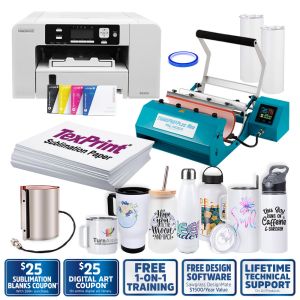
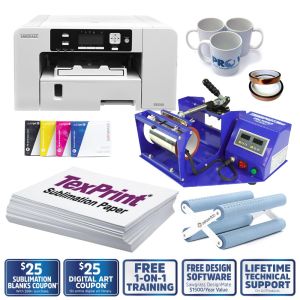
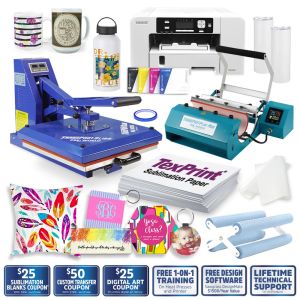 SUBLIMATION AND DRINKWARE BUSINESS PACKAGE Item #: BUN-071As low as $1,549.00 Regular Price $1,787.00
 -
-
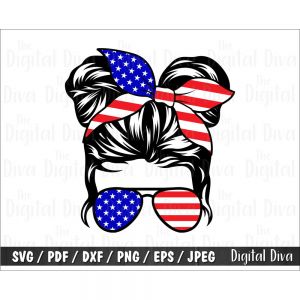
 USA Mom Bun Cut File Item #: CF103150Format: SVG, PNG, EPS, DXF, PDF, JPGArtist: Digital Diva$2.00
 -
-
-
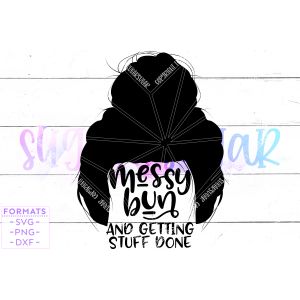 Messy Bun and Getting Stuff Done Cut File Item #: CF102964Format: SVG, PNG, DXFArtist: Sugar Sugar$3.00
 -
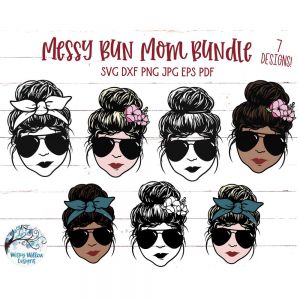 Messy Bun Mom Bundle Cut File Item #: CF101277Format: SVG, PNG, EPS, DXF, PDF, JPGArtist: Wispy Willow Designs$4.99